
Before starting, make sure:
To enable SAML SSO on your company account:
1. Log in to TAGGRS
2. Go to Profile → Organization → Single Sign-On (SSO)
3. Click Contact Support to request SSO activation for your organization.

Once SSO is enabled for your company account, you can fill in the details:

In your identity provider, create or install a SAML 2.0 application for TAGGRS and configure it with these standard SAML settings:
https://connect.taggrs.io/
v1/auth/saml2/callbackhttps://connect.taggrs.io/
v1/saml/metadataConfigure your IdP to send the following user attributes to TAGGRS:
first_namelast_nameemailAfter you configure your IdP:
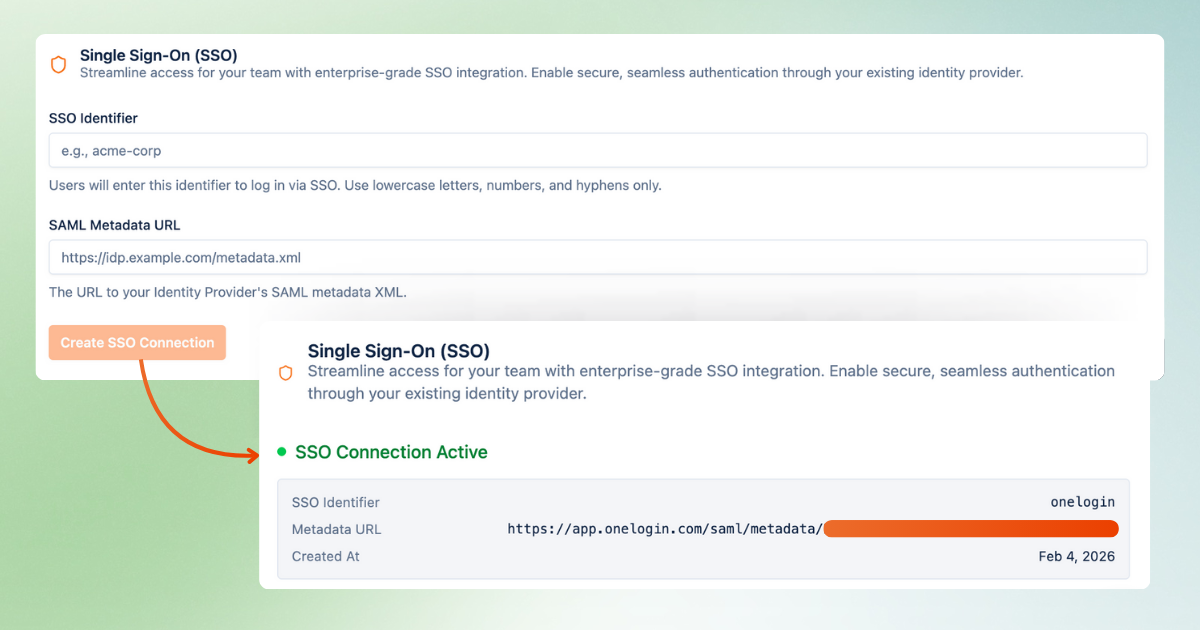
1. In TAGGRS, go to your Profile page and scroll to the Single Sign-On (SSO) section
2. Enter the SSO Identifier field with the name of your IdP
3. Copy the Metadata URL from your IdP and paste it into the SAML Metadata URL field in TAGGRS.
Once you submit the Metadata URL, TAGGRS validates the SAML configuration and links SSO to your organization and email domain (for example, @mycompany.com).
The SSO connection is now active.
User access to TAGGRS is fully controlled in your identity provider (IdP).
Assign users or groups to the TAGGRS SAML application in your IdP's admin console. Only assigned users can access TAGGRS via SSO. Removing assignments immediately revokes access.
On a user’s first SSO login:
This makes onboarding new team members fast and low-maintenance, assuming they are already provisioned in your IdP.
To manage the team:
TAGGRS always follows the access rules and assignments defined in your IdP.
If login issues occur:
For advanced issues or to disable SSO for an organization, email TAGGRS support.
Why use SSO in TAGGRS?
SAML SSO is designed for agencies and enterprises that manage multiple users and clients at scale. It comes with many benefits, such as easy onboarding and offboarding as your team grows and centralized access control via your identity provider. Learn more about the benefits of SSO.