
Strictly speaking, there is no universal “standard” Data Layer. Each CMS or platform often has its own variation. However, the Google Analytics 4 (GA4) Data Layer structure is widely considered the standard because it is most commonly used and directly supported by Google’s official documentation. You can find Google’s recommended e-commerce data layer here: GA4 e-commerce developer documentation.
When implementing GA4, follow Google’s standard events and structure as much as possible. Instead of using GTAG, always send events to GTM with a dataLayer.push. For example:
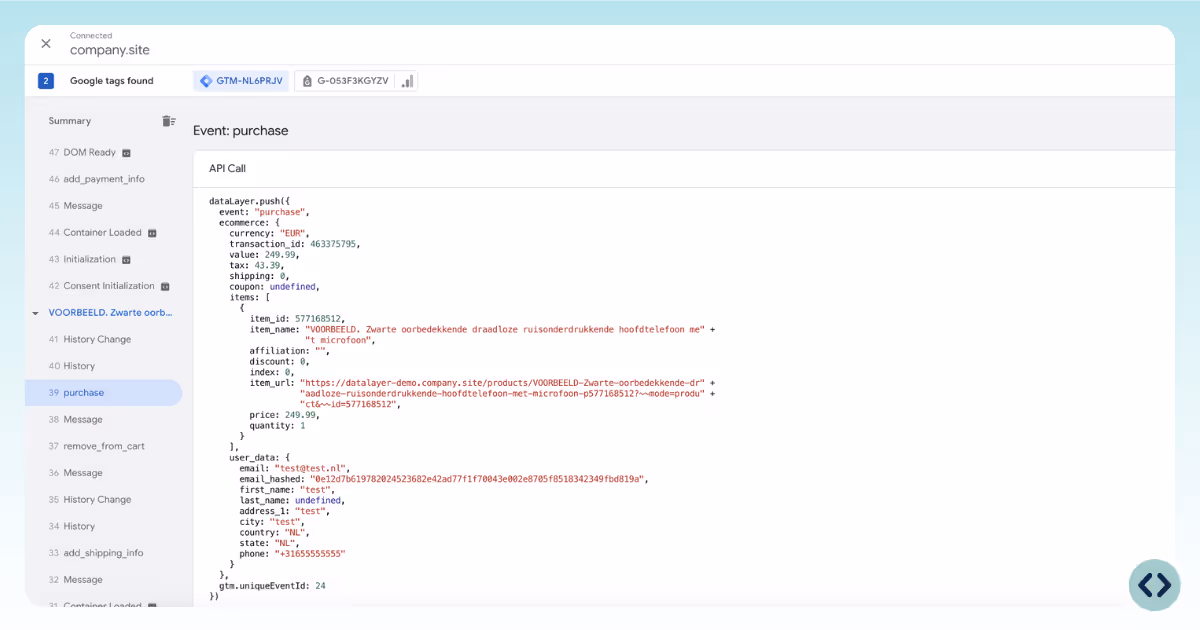
Here’s an enhanced purchase data layer example with multiple variables, including customer information and product details:
The Data Layer work client to server, acting as a communication bridge between your website (or app) and Google Tag Manager. It stores information in a structured array so that GTM can easily read it and pass it on to connected platforms such as Google Analytics, Google Ads, or other third-party tools. The typical data flow is:
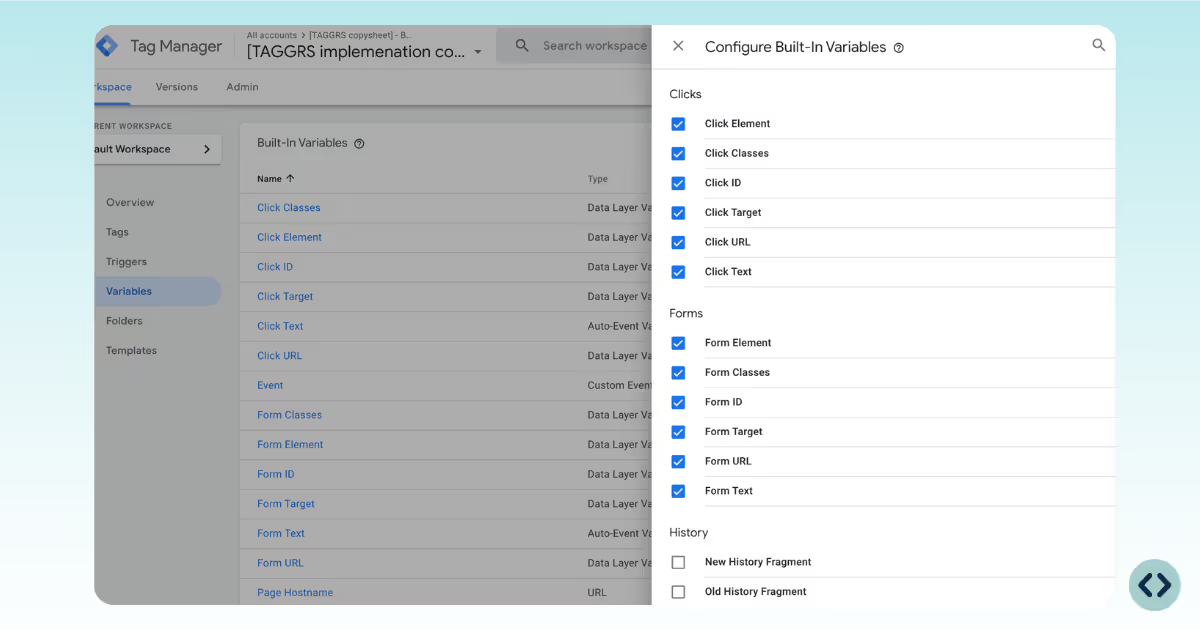
You can then pick up these values in GTM using Data Layer Variables. For example:
These variables can then be used as parameters in your GTM tags for analytics or advertising.
This Data Layer structure ensures not only the purchase event itself is tracked but also rich details about the customer and the items purchased, maximizing server-side insights.
There are two primary methods to send information into the data layer: declaration and push.
When declaring the data layer, it should always be placed above the Google Tag Manager container snippet in the <head> section. By loading it early, GTM has immediate access to the information and can trigger tags accurately without delay.
This setup works particularly well for static information such as page titles, content categories, or user IDs, which provide valuable context for event tracking and analytics.
At the same time, it is essential to initialize the data layer correctly. An improper declaration may overwrite the existing data layer object, which can cause loss of previously defined values and lead to inconsistencies in your tracking setup.
✔ Provides initial page and user info before GTM loads
✔ Ensures consistent availability of static data
✘ Cannot handle dynamic events after page load
✘ Risk of overwriting data layer
Using a dataLayer.push() call allows you to dynamically send new information into the existing data layer after the page has loaded. This method is ideal for recording multiple events in sequence (like add to cart, checkout, or purchase) which are essential milestones in e-commerce tracking and conversion analytics.
By pushing interaction data in real time, you can capture how users behave on your site beyond static page information.
However, it is important to initialize the data layer correctly; if the push occurs too early or too late, it can lead to timing issues where events are missed or not processed properly by Google Tag Manager. This makes careful setup critical for ensuring accurate and reliable event tracking.
✔ Supports dynamic, real-time events
✔ Ideal for e-commerce actions like add-to-cart and purchase
✔ Multiple events can be recorded sequentially
✘ Requires initialization before use
✘ Order of execution must be managed carefully
You can develop a Data Layers manually, but we developed 5 plugins for the most used e-commerce platforms to help you save time: Shopify, Magento, WooCommerce, Lightspeed, and Magento.