Logo of TAGGRS, written in blue and with a small favicon
HomeServer-side Tracking
Start for free
Introduction
Get started
Get started with TAGGRSSet up Google Tag ManagerAdd the GTM Data LayerConfigure GTM transformationsTest the setupDebuggingAnalytics dashboard
Migrate from Google CloudMigrate from hosting
Shortcuts
GTM Copy PasteReady-made templates
GA4 Server-side Tracking
Setup in GTMCreate GA4 Event TagsGA4 tag setup in server containerE-commerce events in GTM
Google Ads Server-side Tracking
Install Conversion LinkerSet up Conversion TrackingConfigure Enhanced ConversionsDeploy Remarketing Tags
Facebook Server-side Tracking
Set Meta PixelImprove your EMQ ScoreInstall Meta CAPIMeta Events DeduplicationMeta CAPI Gateway
LinkedIn Server-side Tracking
Install LinkedIn Insight TagSet up LinkedIn CAPILinkedIn Events Deduplication
TikTok Server-side Tracking
Set up TikTok PixelInstall TikTok Events APITikTok Events Deduplication
Pinterest Server-side Tracking
Set up Pinterest TagConfigure Pinterest Conversions APIPinterest Events Deduplication
Snapchat Server-side Tracking
Set up Snap PixelSnapchat Conversions APISnapchat Events Deduplication
TAGGRS Tracking Tags and Tools
Tracking TagsGoogle Service Account integrationsGTM LogsProfit TrackingData Enricher ToolWebhooks TesterEnhanced Tracking ScriptMulti Domain ToolClick ID RecoveryConsent Tool
Configurations
Billy Grace Server-side TrackingLeadPages Server-side TrackingPiwik PRO Server-side TrackingCDN Server-side TrackingShopify Server-side TrackingActiveCampaign Server-side TrackingKlaviyo Server-side Tracking
Server-side Tracking for e-commerce
Shopify Data LayerShopware Data LayerMagento Data LayerWooCommerce Data LayerPrestashop Data LayerLightspeed Data Layer
Consent Management server-side
Activate Consent ModeConfigure TAGGRS with Axeptio

Getting started with TAGGRS

This guide explains how to set up TAGGRS for Server-side Tracking. It covers creating an account, configuring your tracking project through automatic Google Sign-In or manual setup, and routing data via your own domain. Hosting the GTM server container with TAGGRS helps improve data accuracy by reducing loss from browsers and ad blockers, while supporting privacy compliance.

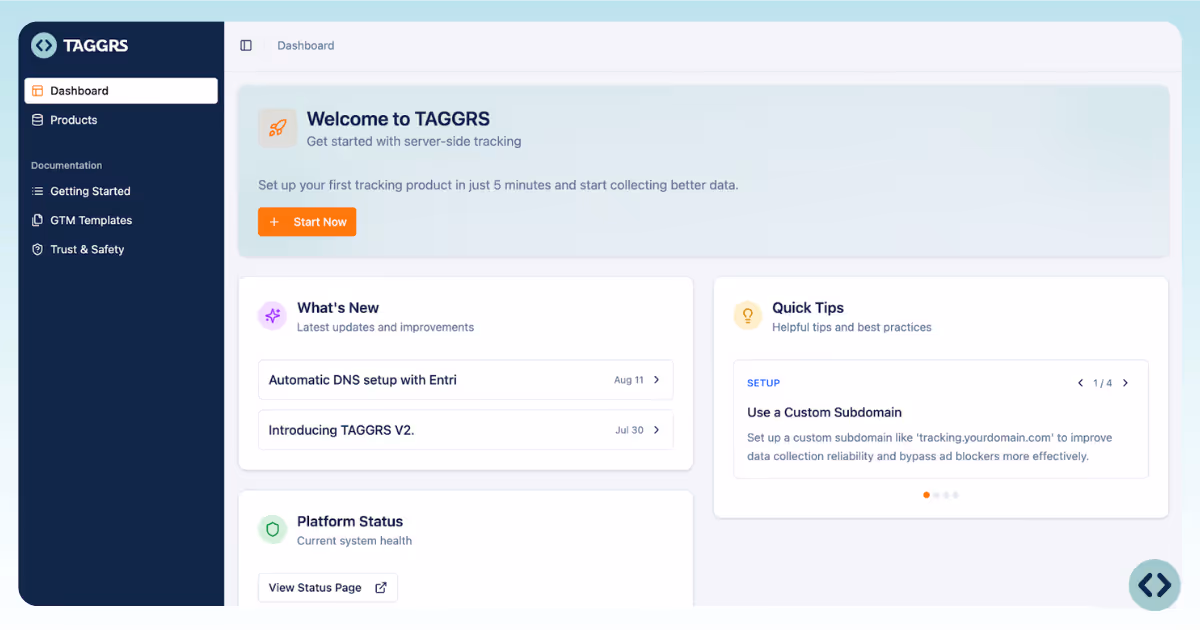
Follow the step-by-step instructions and video to activate reliable server-side tracking and manage your first-party data securely.

We recommend checking out the Server-side Tracking Full Explanation.

Create your TAGGRS account

Start by creating your account at taggrs.io. Once you're in, you can access the dashboard to manage your products.
Dashboard of the TAGGRS software to show how to create your TAGGRS account

Create a project

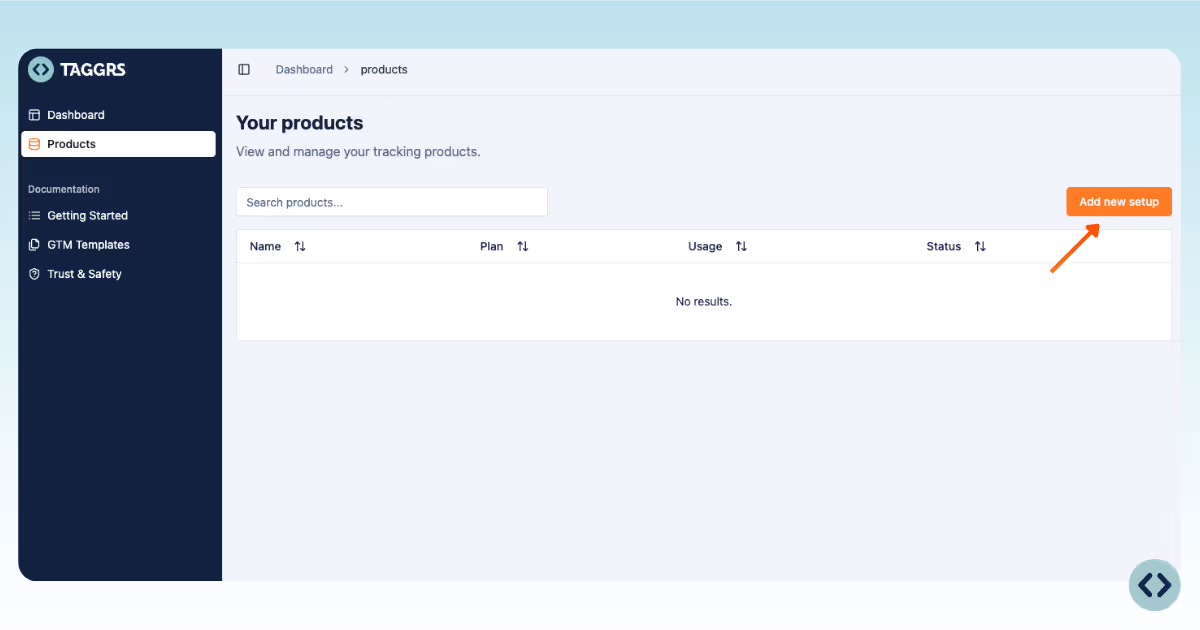
Your project contains everything related to your tracking setup. Click Add new setup and configure the project.

dashboard of TAGGRS software where you can see how to add new setup and configure your first project

You can choose between two options:
• Automatic setup via Google
• Manual setup.

Popup window showing the two setup option you can get to set up your Server-side Tracking with TAGGRS: manual and automatic

Automatic setup via Google Sign-in (recommended)

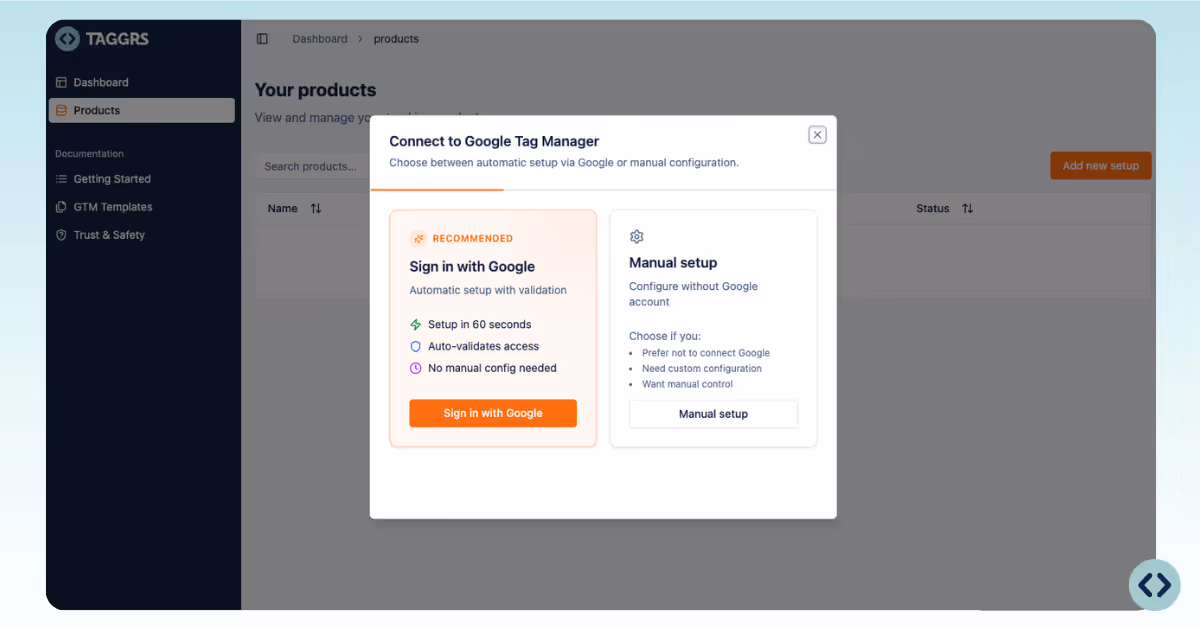
This is the fastest and easiest way to get started. What happens automatically when you sign in with Google:

  • A new server container is created in Google Tag Manager
  • TAGGRS injects the server tracking tag into that container
  • The container configuration code is generated and added to your project.

Configuration

1. Sign in with your Google account
2. Select the GTM account you want to connect
3. Choose the correct Web container (usually your current tracking setup).

Logo of TAGGRS Server-side Tracking: a light blue circle with two blue angle brackets
Don’t have one yet? Create a GTM account first.

4. Choose whether to:

  • Create a new server container (recommended)
  • Use an existing one
  • If new, TAGGRS will auto-create the server container in Google Tag Manager and add the TAGGRS tracking tag.
Server container creation in Google Tag Manager

5. Fill in the setup details:

  • Product name
  • Domain / subdomain
  • Preferred server location

Then click Create.

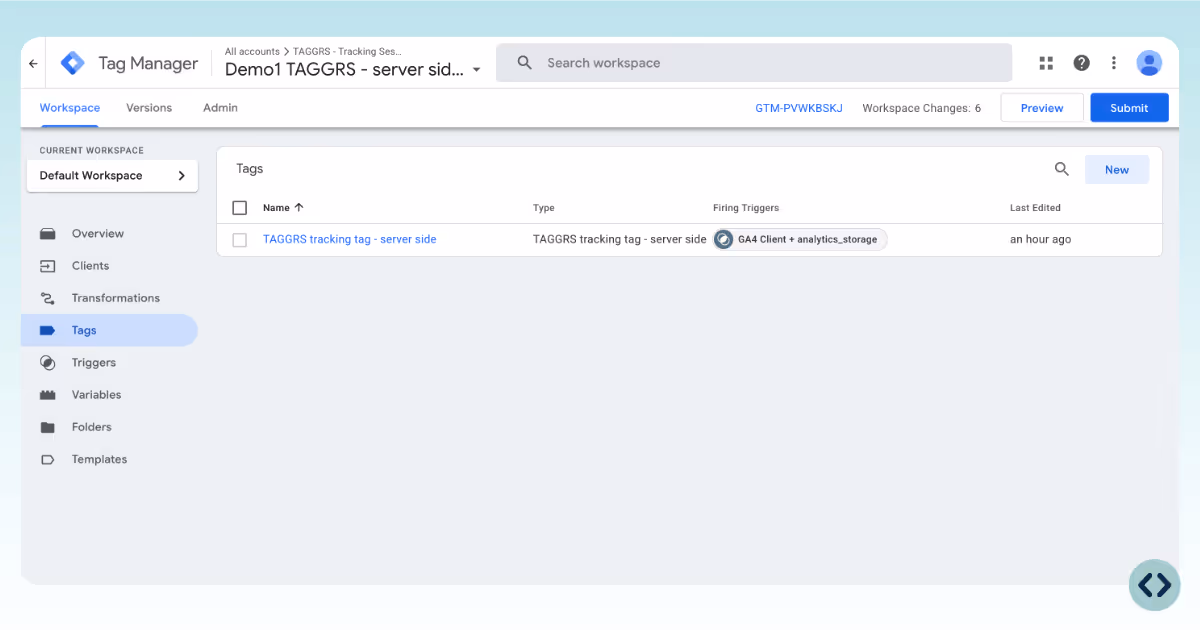
Your project is now created, and the server container has been created with the tracking tag pre-installed.

Manual setup

If you prefer full control or don’t want to connect with Google, the manual setup is available.

1. Click Manual setup
2. Fill in the following:

  • Product name
  • Domain / subdomain
  • Server location
  • Server container configuration code (which you can generate by creating a server container in GTM, as shown in the video tutorial)

3. Click Create to finalize setup.

Your project is now created.

Configure domain routing

Before data can be tracked, you need to route it through your own domain.

This will route your data through the TAGGRS server, a key step in activating your setup.

Once routing is configured, your setup is ready to start processing data.

In the next guide, you’ll learn how to configure Google Tag Manager and start sending events server side.
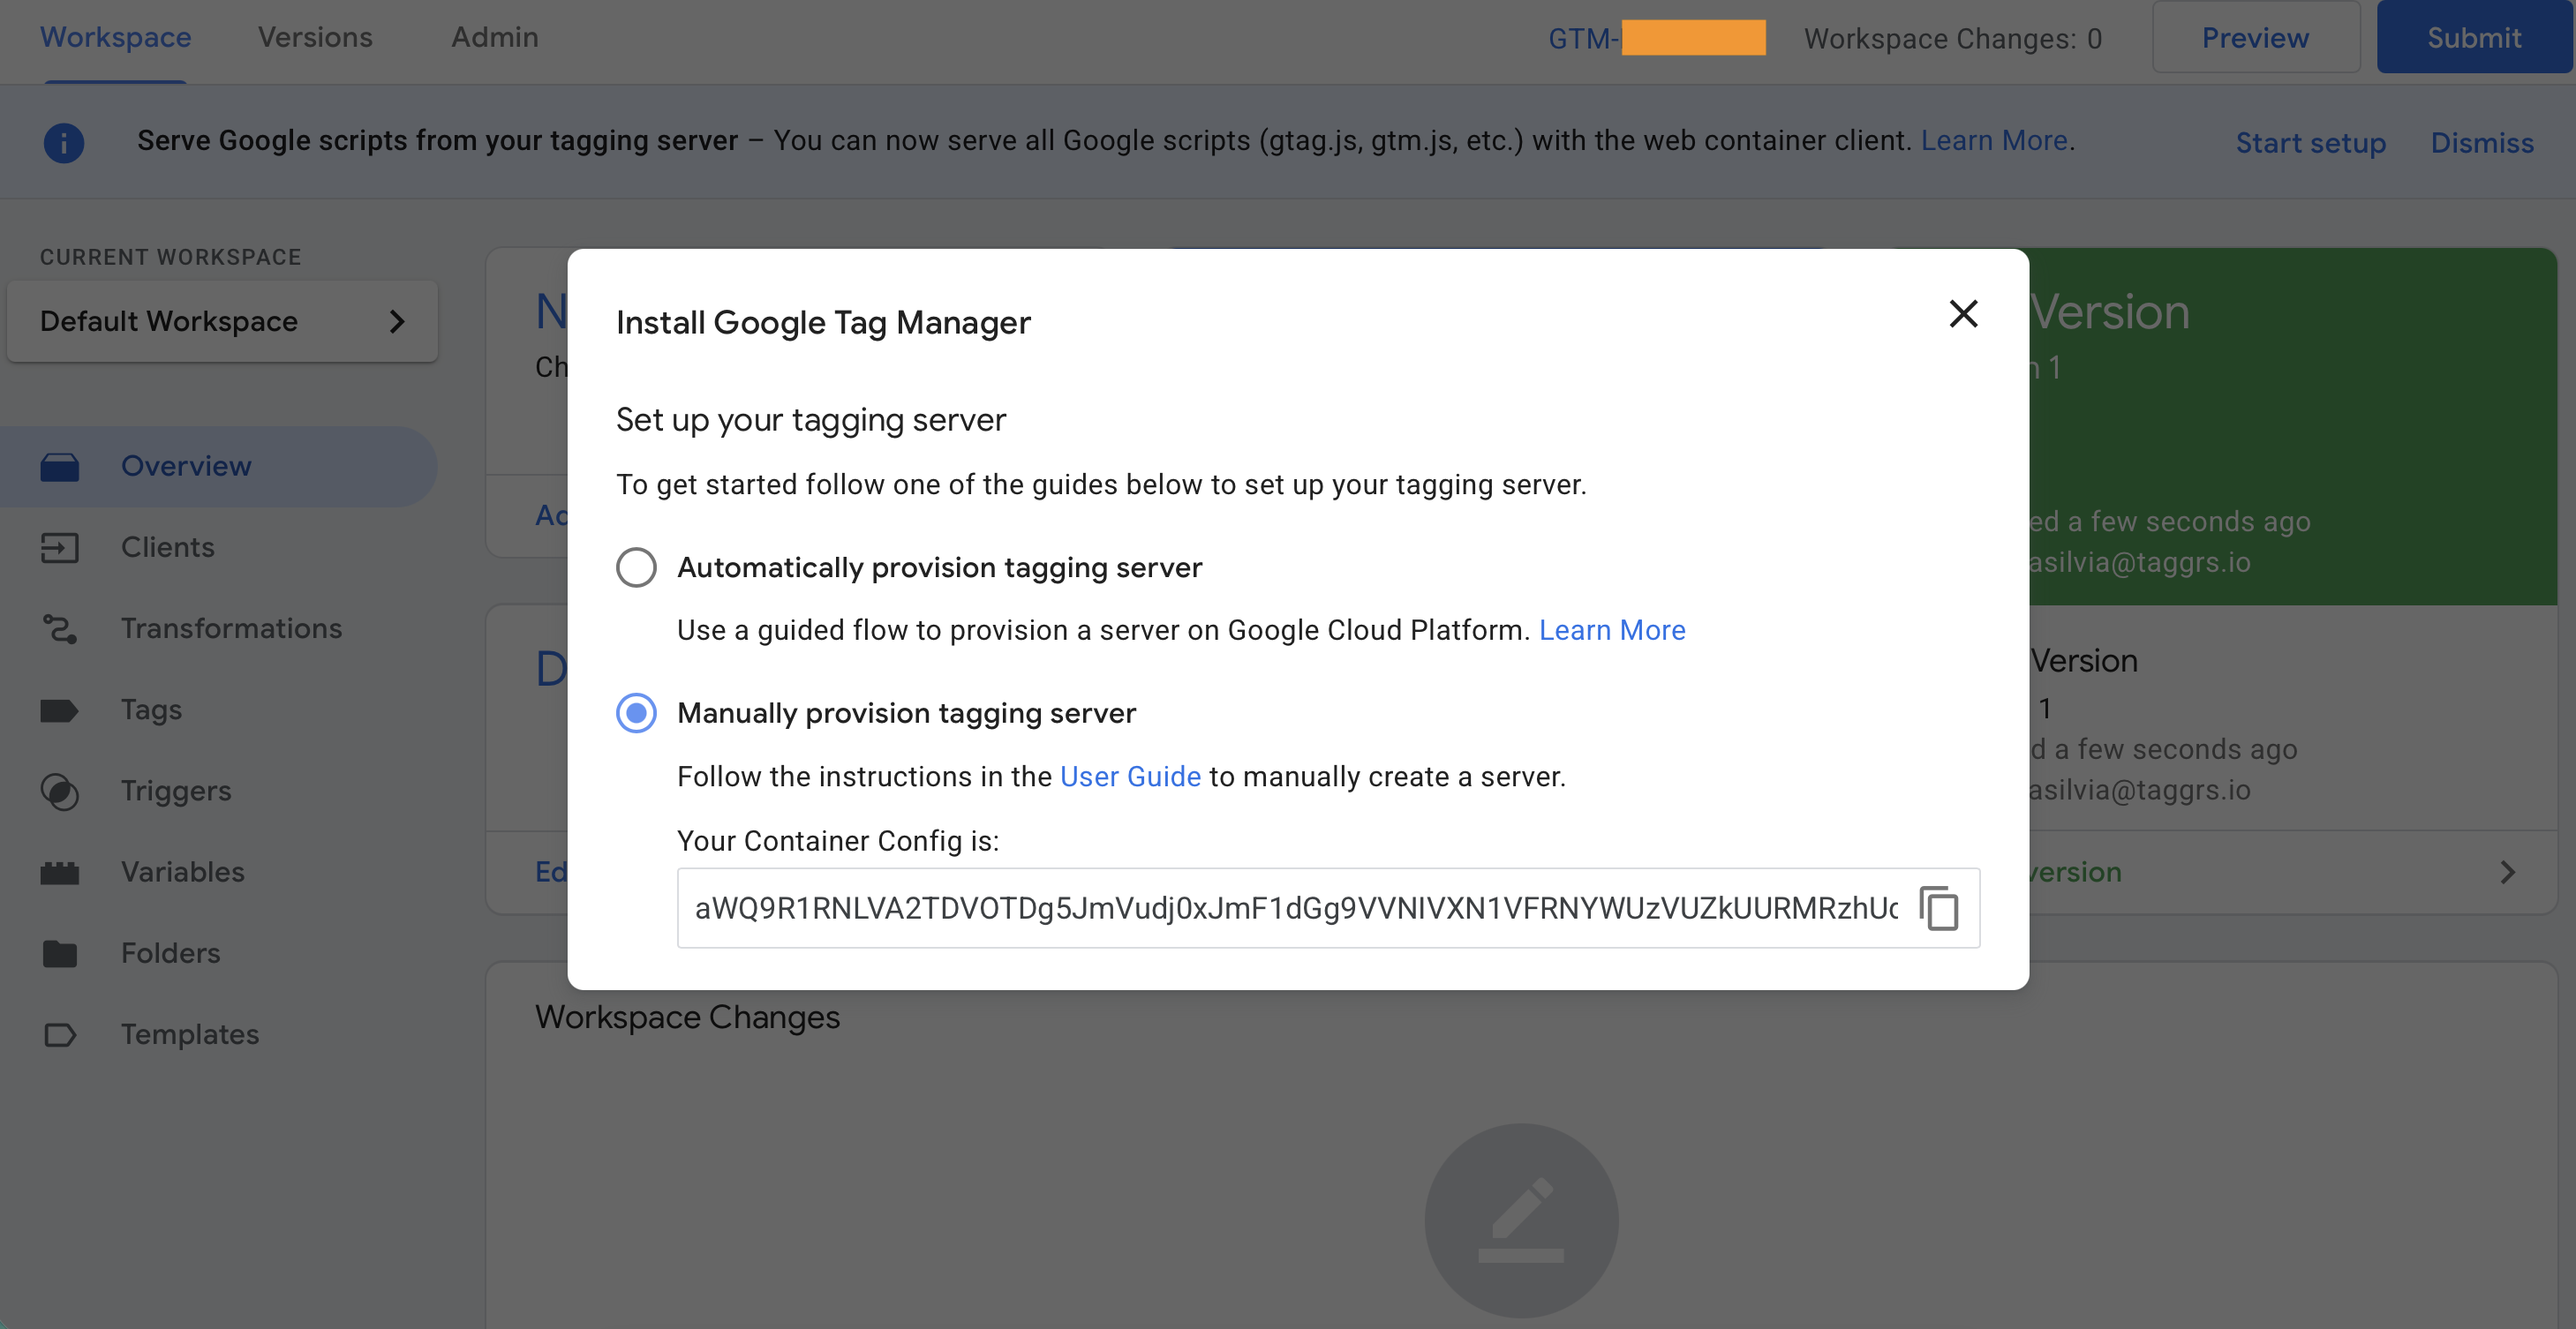
Useful resources

Need extra help? Visit our Support Center

All you need to know about TAGGRS server GTM hosting

Previous
Introduction to Server-side Tracking
Next
Set up GTM server side
DOCUMENTATION V1.3
Copyright © 2025 TAGGRS. All right reserved.
TABLE OF CONTENTS
Create your TAGGRS accountCreate a projectAutomatic setup via Google Sign-in (recommended)Manual setupConfigure domain routingUseful resources